(the noobs guide to setting up an Android headunit)
It must be set up when you receive your brand-new Android headunit and power it up for the first time. Set up will include the Google account and Gmail to access the Play Store; that topic is covered in this guide.
Another set-up may also be required, like CAN-BUS selection and SWC set-up, which is covered by the supplier’s instructions in your Android headunit. Check at the bottom of the box if you can’t find them.
Android Headunit Tip
The guide covers the best practice for setting up a Google account for your new Android headunit.
You can’t access the google play store without a Google account.
This setting-up guide assumes you have installed your custom-fit Android headunit. Or with a universal fit Android headunit, powered it up on the bench. It would be best to have wifi from a home router or your phone has an active wifi hotspot. Other options include a USB dongle with data SIM or a Travel Hotspot, but you must be connected to the internet to complete the Google account set-up.
Android Headunit Tip
It is useful to have your phone to hand, which is needed to pass the ‘Robot roadblock’ should you encounter it while setting up the Android headunit Google account
Any Android version
Android Headunits are installed with various Android operating system versions, and newer models can even have the latest version. This guide follows a generic Android 8, but the steps are similar for every possible version installed. You should be able to follow this guide quite easily to get your Android headunit up and running.
Android Headunit Tip
Security is important<br>, Android headunits have no security to lock the screen. So to protect your personal phone-based Google account, do not sign in to it. Instead, create a new, free account for use by the headunit exclusively.
Time needed: 25 minutes
Setting up a Google account on a new Android Headunit
- Please switch it on and wait for it to boot.
The first boot may take the 30s, but subsequent boots can be quicker.
- Welcome!
Select you language
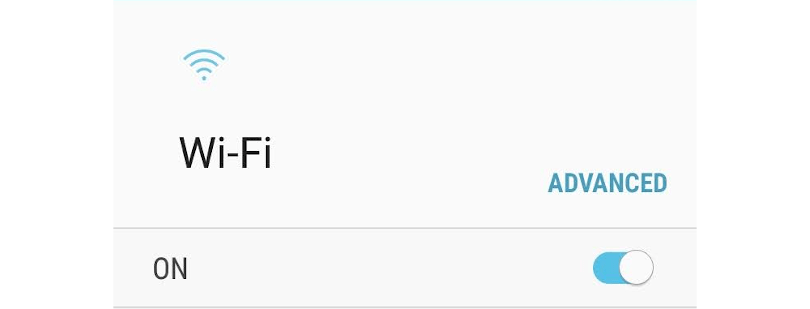
Click ‘START’ - Connect to wifi
Ideally, select your home wifi, but your phone hotspot, USB dongle, or travel router will suffice. You need a working data connection to continue.
- Read and Agree to the terms and conditions.
Agree to all
Or agree to the ones you are happy with.
The more you agree to give to Google, the more they give back to you through services.
We choose ‘Agree to all 🙂
- Wait for ‘Checking for updates, checking info.’
This may take a minute or two

- Google Sign-in
Do not sign in with your Google account.
There is no security, like a PIN or fingerprint scanner, on an Android headunit. This is a security risk, so we will make a new Google account for the headunit to use.
- Google Sign-in
Scroll down and
Click ‘Create account.‘
For myself (if you are asked)
- Create a new Google account
Follow the onscreen instructions to create a Google account
Enter your name
First name, Last name
Birthday and Gender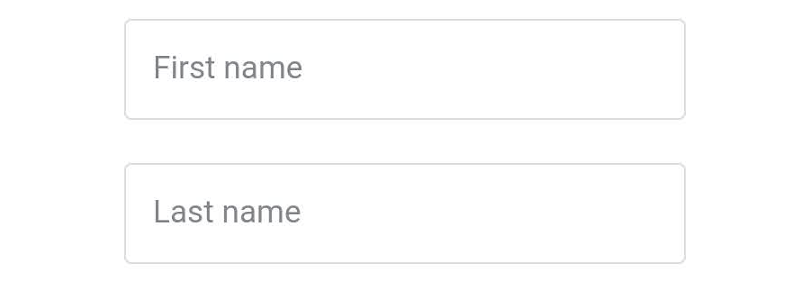
- Choose your Gmail address
You are offered a list of pre-computed choices
Select ‘Create your own Gmail address.’
Enter your vehicle registration number.
(or anything you like, but the vehicle reg should be unique and is a nice touch to personalize the Android headunit) - Create a strong password
Create a strong password with a mixture of letters, numbers, and symbols.
Please write it down or make a note of it; you will need this again later. - Add phone number
You can add your phone number to help recover your account should you forget the password.
You can choose ‘More options’ to give Google less.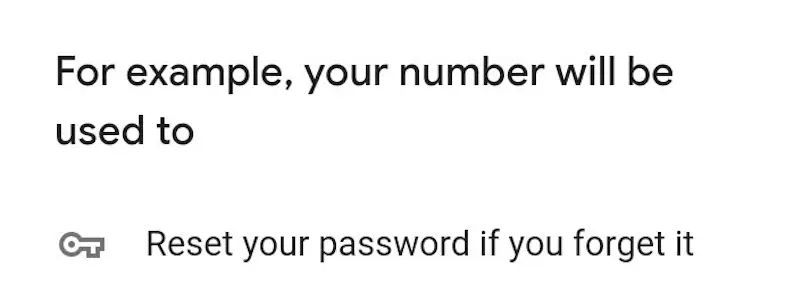
- Read the Privacy and Terms
Agree to those terms that you are happy to agree to.
We agree to all of them 🙂
Click ‘Create Account
- Wait a while
Getting account info
- Google services
Agree to the extra services as you see fit.
Read the privacy policy
We agree to all of them 🙂 - Click through the next screens.
Agree to any extra features available to your Android headunit from the Google service.
We agree to all of them 🙂
- Wait for any changes, and your Android headunit should now be ready.
The launcher has loaded, and there may be updates downloading.

- Access the play store and add any new apps you want.
A new launcher would be nice
Enjoy your new Android headunit
You have now set up your new Google account for the Android headunit.
You can now log into this account on your laptop, tablet, or phone (this is the reason you wrote the strong password down earlier). Using your laptop or phone/tablet makes installing apps to the headunit easier. You use the laptop or phone to send apps to the headunit from the Play Store. The Android headunit will start downloading as soon as it is booted up and has a data connection (wifi/4G etc.). There is no need to sit in the car while searching for the ‘must-have apps’ for your new Android headunit.
If the apps don’t install, check for an update to the Play Store. Your headunit can download this automatically if needed, but you must have a data connection.


 Android headunit. Security is important.)